

Research and Planning
 Web 2.0
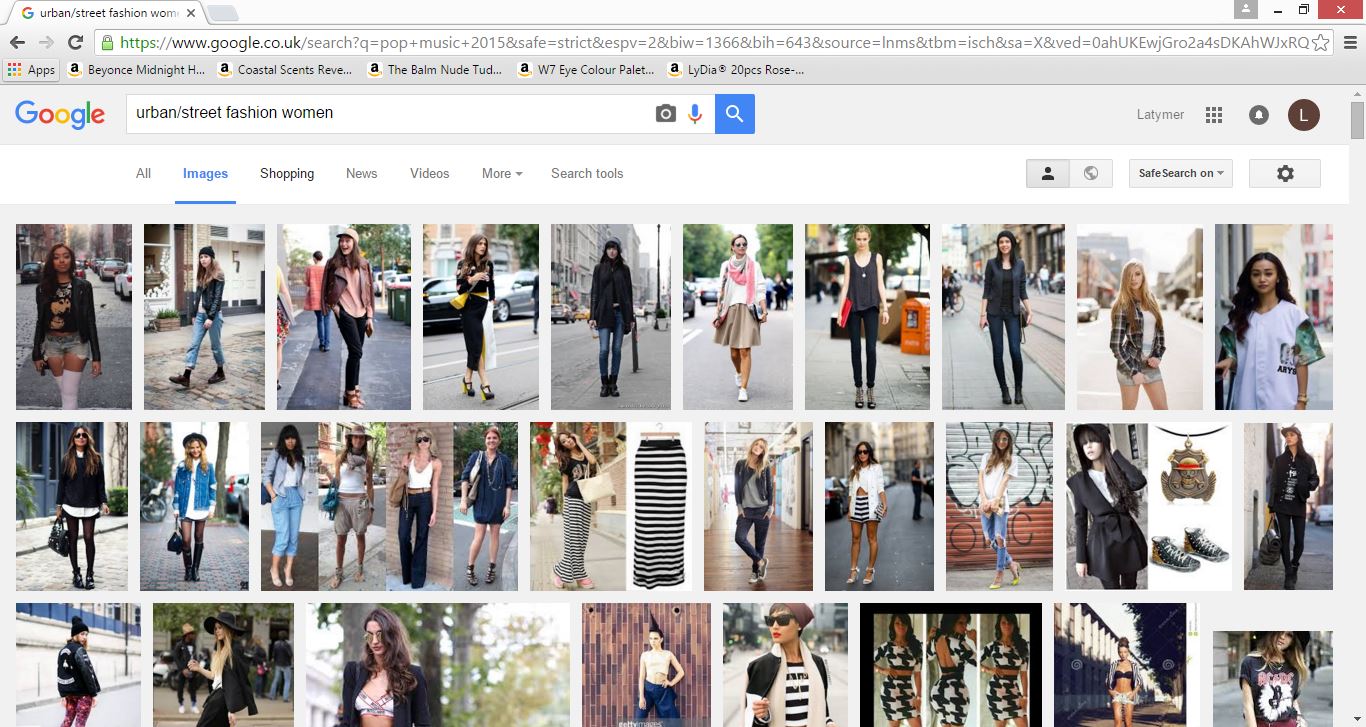
Google - During the research and planning stages of this project, we could enter a search into Google and it will give us millions of related results in a matter of seconds. This enabled us to research into things like pop music, artist identity, genre etc really easily. We also used Google Images to search for costume inspiration, and again we were met with loads of results which we did use to come up with our final outfits.

YouTube -
 We also took advantage of YouTube during this process as we created a playlist where any of us could add songs/music videos that we found inspirational and then we could all access it from anywhere and they'd all be in one place as well. YouTube is a free video platform that we found useful throughout the duration of the project but especially useful in the beginning stages where we were coming up with ideas and forming our own music video.
 Facebook -
We also set up a Group on Facebook where we could post videos, messages and so on for the rest of the group to see. Again, this enabled us to easily communicate with each other and we would stay in touch even out of school hours and discuss the project and the things we wanted to achieve each week.
YouTube -

 Facebook -
We also set up a Group on Facebook where we could post videos, messages and so on for the rest of the group to see. Again, this enabled us to easily communicate with each other and we would stay in touch even out of school hours and discuss the project and the things we wanted to achieve each week.
Mobile Phones
 All of the members in the group had a smart phone which meant we could take full advantage of these technologically converged devices to aid our project. Smartphones have a lot of features integrated within them such as social media apps, web 2.0, a camera and so on, all of which we used throughout the project.
WhatsApp - We set up a group chat on WhatsApp, a social media app that we all constantly use meaning we could reach each other really easily to discuss anything relating to the project. We could also send pictures, videos and voice notes through this app. We used WhatsApp to discuss important details about our project and we also used it to keep our other actors informed about all the shoot days, what they needed to do and what they needed to wear/bring.
Construction
Canon 5D Mark II Camera

 |
| I have included pictures showing me operating the Canon 5D Mark II camera. |


Similar to the camera, we were taught how to operate the lighting desk and the lights by the media technician as we had never used any of it before. The lighting desk and the monitor controlled all the lights on the lighting rig and any colour could be achieved using the coloured filters. This helped us achieve all the colourful backdrops that we used throughout our music video. However, setting up the lights before each shoot was the most time consuming part of every shoot. Even though all our lighting set-ups were pre-set and saved onto the monitor, the positioning of the lights had to be changed to suit each individual set up that we wanted in order to achieve the most desirable lighting for each shot.
Adobe Premiere Pro -
 We were all quite confident in using this software as we had previously used it when editing our AS coursework. We used similar techniques that we learnt previously but then we also researched and added some cool new effects. Premiere Pro was a really effective editing software as everything was easy to understand and also we could create multiple video and audio layers on one sequence which helped us edit in the non-linear fashion that a music video is edited and also came in useful when adding the effects. A visual of the multiple video and audio layers is shown above.
 We used basic tools such as the position/motion tool to position each shot and zoom into it if necessary, the crop tool to crop shots, and we also used the opacity tool to either increase/decrease opacity where necessary. We also used other basic tools such as cross dissolve, horizontal/vertical flip and procamp for the grading process.


These are the different effects we used from Premiere Pro to get our basic music video cut and edited together.
Adobe Photoshop -
Web 2.0 -

Evaluation
Prezi -

Prezi was an online web tool that I used throughout my evaluation to present my work in a more interactive and visual way. It was a really effective method of presenting information as it could be embedded into my blog, viewed in full screen and you can also add pictures and videos to it. However, one thing you couldn't add were GIFs, this was quite disappointing as this is one of the web tools that I love using the most.
Padlet -

Padlet is another web tool that I used to present my evaluation in a more visually appealing way as opposed to block text. The software allowed me to add different sections and also add pictures/videos to it as well. However, initially I found it very difficult to use as there was little guidance as to what to do, but eventually I figured it out and after that it was simple to use and helped make my blog look a lot more appealing.
Survey Monkey -

Imgflip -
Imgflip is a web tool that I used to create the GIFs that you see throughout my blog. You can either convert certain parts of a YouTube video into a GIF or you can turn images into a GIF. Either way, I found this site very useful throughout the whole project, especially the evaluation.
Blogger -
This is the software I used to present all my answers. I found this site very effective as I could embed many different web tools, pictures and videos to make my blog visually attractive and also present all my answers in a nice way. However, formatting on blogger was always something I struggled with as sometimes, the formatting would look good whilst you're editing your blog post but once you publish it, it changes making it look quite bad and unorganised.
No comments:
Post a Comment